Before you start selling with us, one of the first things that is very important is to have your contacts and notification emails set up correctly.
These contacts are used for effective communication between us so that information gets to the right people in a timely manner.
Find out how in this article below.
You can set up all the data in the partner portal in the section Partner.

Contacts and notification management can only be set up by Admin, no one else has rights, unless the account holder specifies otherwise. You can also find the admin rights settings in the partner portal in the Partner and the tab Accounts.

How to set up your contacts?
The moment you first log in to the MALL Partner portal, it is necessary to set the contacts.
In this tab, it is necessary to fill in all the contact details of your company - name, surname, telephone contact, email and company address.
It is always necessary to assign the correct contact person to each contact rolethat identifies the person we can contact, for example, to resolve a complaint.
MALL has several departments that will work with you and to avoid any future misunderstandings, you need to assign the role to a specific person and in a timely manner.
U contact addresses you always determine address type (e.g. main warehouse, correspondence, billing, etc..)
Important:
Please fill in all roles and address types offered by the MALL Partner portal. For each role you need to fill in at least one contact and more than one person can have the same role.
Role:
Call Centre - customer service and ordering officer
Finance - Invoicing and billing officer
Logistics - logistics process officer
Manager - decision maker (managing director/CEO/director)
Marketing - marketing and campaign management officer
RMA - Claims and Returns Officer
Sales - sales, product portfolio and pricing officer
Tech - Implementation and technical support officer
User - Product and Order Portal Administrator
Types of address:
Billing - address for sending billing documents
Main warehouse - address of the main warehouse where any complaints will be sent
Correspondence - contact address, if different from the company's registered office
Warehouse - you can add this field if you have more stock
Basic - company headquarters
In the image below you can see an example of the contact details of a company with multiple employees.

Not every company has enough employees to divide all the roles according to the job description. If you are the owner and the only employee of your company, you have to take on all the roles that the portal offers.

Now we will show you how to create contacts.
Contact persons
In the section Partner, tab Contacts click on the button "Add contact".


After that, a window will pop up where you can fill in the necessary information, assign the roles (just click on the icon, it will automatically turn dark) and press the add button.
Please make sure you enter your email and phone number correctly here. The correct area code is also important.

Contact addresses
In the section Partner, tab Contacts click on the button "Add address".


A window will open where you fill in all the address types. As with contacts, click on the address type and the icon will turn dark, then confirm with the add button.

You can also watch our instructional video on setting up your contacts.
How do I set up notification management?
You can find the Notification messages again in the section Partner.
As you can already see from the picture, this service provides you with an information service regarding, for example, the arrival of a new order, invoice or a new marketing campaign in which your products can be involved.
As with contacts, notifications can only be set by Admin.
The default is always the Manager role, but you can edit the notifications to change the role or add an email address.

Editing can be done using the pencil button and a window will open where you can just write the relevant data.

You can set several roles and emails (max. 10) in the recipient list.
You can select roles for a specific notification from the whisperer.
In the email field, you can enter the email address of an employee who has no role in the partner portal but you want to receive the notification.
After entering the email address, press the button „+“ and then the button "Set".
We recommend that you have all notifications set up so you don't miss out on useful information.

For example,:
To set up a notification for a new marketing campaign, select the Marketing role (or Manager role, depending on your company's authority) from the list of recipients.
If you have the correct role information in the Contacts tab, you do not need to enter the email address again.
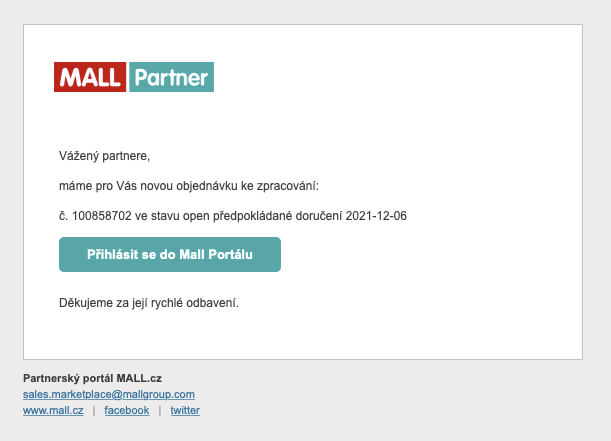
You will receive emails from the MALL Partner portal based on the individually set notifications, see gallery below.


You can also watch our instructional video on managing notifications here.